Thank you to Fab Slabs for providing the cutting board mentioned and pictured in this post. As always, all content and opinions are my own.
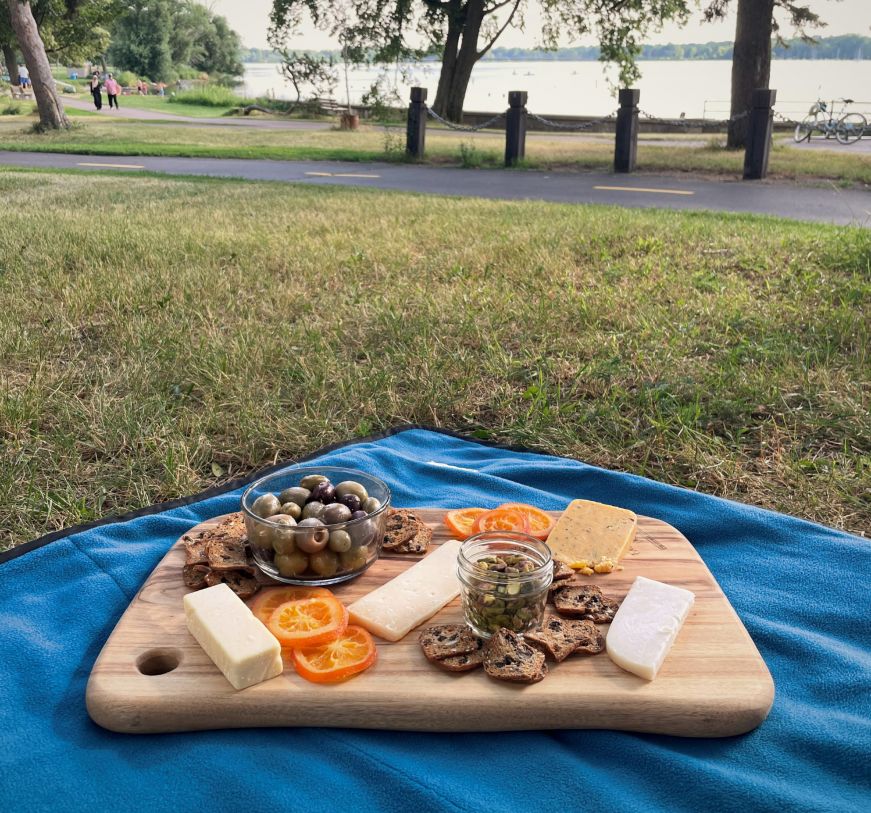
Cheese boards are typically associated with special events and dinner parties, but I think they're perfect picnic fare. You can nibble and appreciate the outdoors without having to deal with plates or utensils, and it's an easy way to make a budget-friendly date night feel fancy. I've been enjoying al fresco cheese boards by Minneapolis' lakes for the past few summers—here are my tips for planning your own cheese board picnic.
Use a sturdy cheese board.
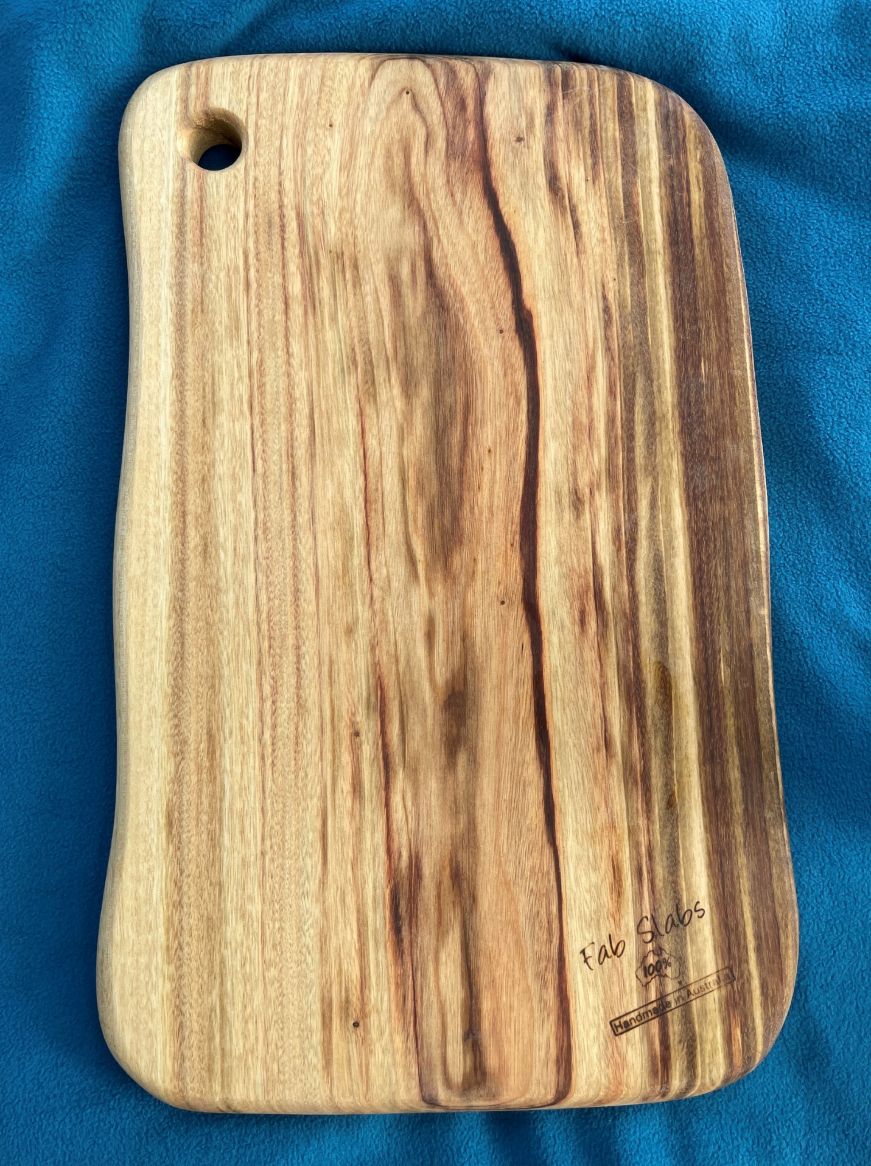
Whether you're setting up your cheese board on a picnic blanket or table, start with a sturdy cheese board. I prefer thick wooden boards like my Fab Slabs cutting board, since it's relatively level and stable on uneven surfaces.
In addition to being sturdy, Fab Slabs cutting boards are made in Australia from single pieces of camphor laurel, which is naturally antibacterial. Camphor laurel is an invasive species in Australia, so the boards are eco-friendly (removing camphor laurel benefits native trees). I also love the appearance, with a prominent wood grain and slight gloss.
Purchase cheese ends.
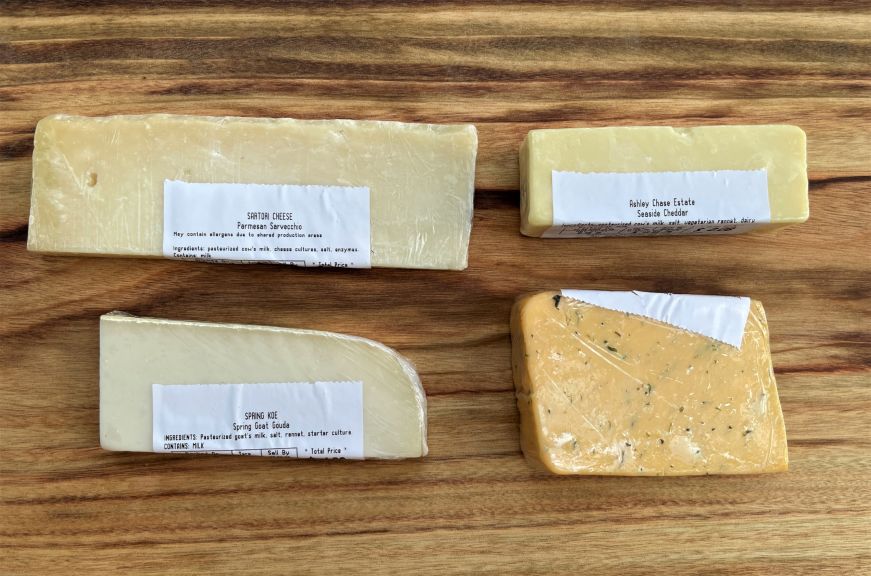
Whole Foods' cheese counters (as well as some independent cheese shops) typically offer a selection of "cheese ends"—small blocks of pre-cut, individually wrapped cheese left over from larger blocks. They're a great way to source a variety of cheeses for a solo or couple's picnic on a budget. For example, the cheeses above cost under $9, and we got to try a Parmesan, goat gouda, cheddar, and double Gloucester.
Another benefit of using small blocks of cheese is that you won't have to deal with re-wrapping leftovers at the end of your picnic.
Pack accoutrements like olives and nuts in glass containers with lids.
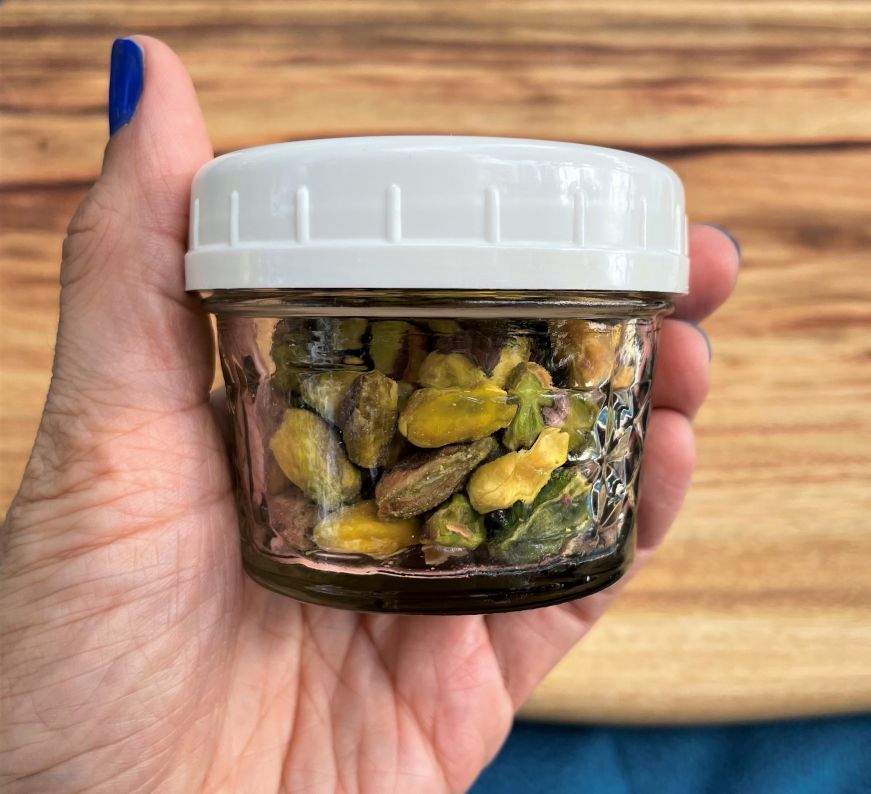
In order to minimize messiness, corral loose accoutrements like olives and nuts in containers. I like to use glass containers with lids, since they're easy to transport and look nice on the cheese board. Typically, I use a 2-cup Pyrex container for olives and a half-cup glass canning jar with a plastic lid for nuts.
Bring hand sanitizer and napkins or paper towel.
Since your picnic location may not have handwashing facilities, bring hand sanitizer so that you can clean your hands before arranging your cheese board. I've found that napkins or paper towels are useful as well, both while you're enjoying your picnic and afterwards, to wipe off cheese knives and the board before packing them up.
Don't overflow your cheese board.
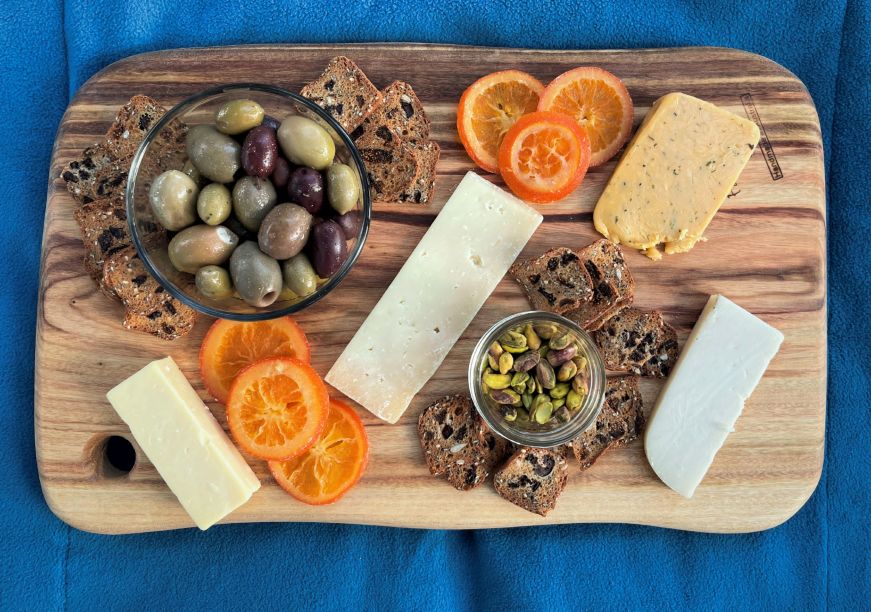
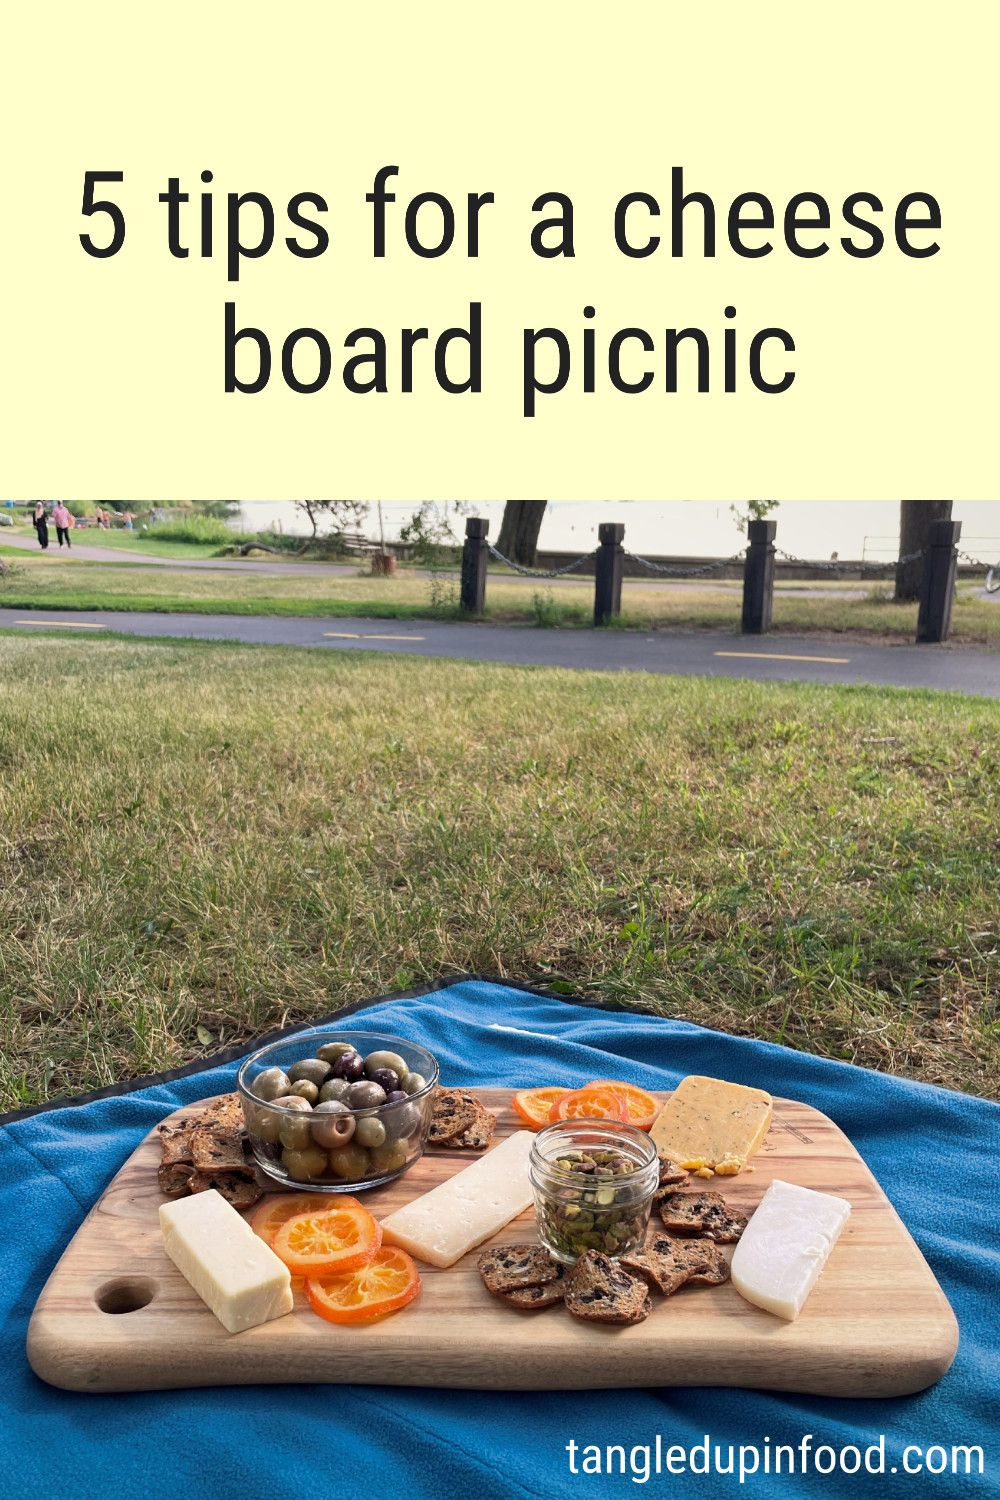
This is not the time to create an Instagram-inspired board loaded with crackers and charcuterie. In the interest of keeping your picnic blanket clean, leave a border around the edges of the cheese board and enough empty space to easily cut and serve the cheese. You can always replenish the accoutrements as you go—for the cheese board pictured above, I added more crackers and dried oranges as needed.
Create this board yourself with these ingredients:
- Assorted cheese ends (Whole Foods)
- Assorted olives from the olive bar (Whole Foods)
- Bulk pistachios (Whole Foods)
- Sweetened dried orange slices (Trader Joe's)
- Fig & olive crisps (Trader Joe's)
Fab Slabs provided me with the cutting board mentioned and pictured in this post. I purchased all of my cheese board supplies out-of-pocket, and I didn't receive any additional compensation for this blog post.
If you enjoyed this post, pin it!
